
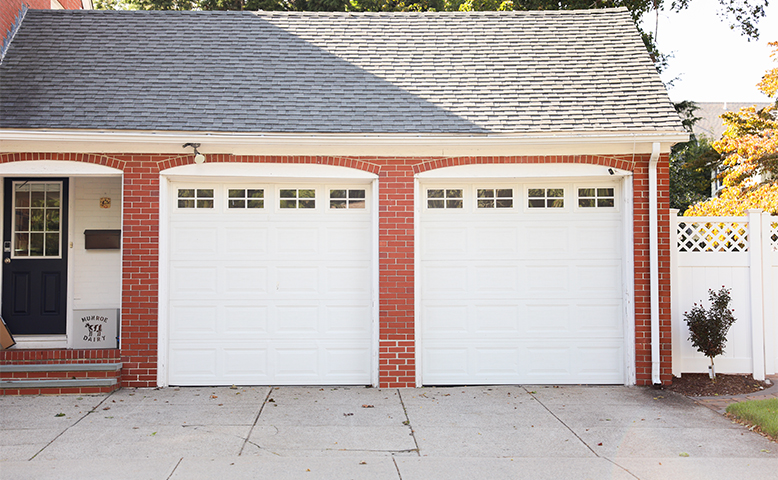
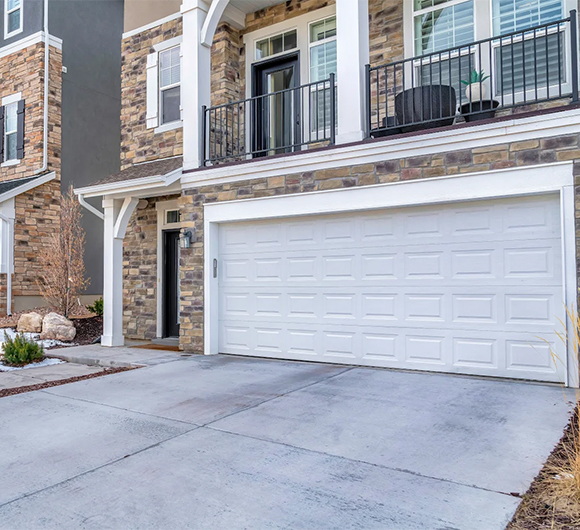
A garage is usually not heated or cooled like the rest of the home. That sounds fine until you remember how often it touches the house. Many garages share a wall with a living room, laundry room, or kitchen. Some even have a bedroom right above. When the garage air is cold in winter or hot in summer, that temperature presses against those shared surfaces all day. Heat moves through materials, and air slips through gaps. Your HVAC system then has to work harder to keep indoor rooms steady.
This is why garages often cause “mystery” comfort problems. The room next to the garage feels drafty. The floor near that wall feels colder. Or the bedroom above gets too warm in the afternoon. You do not need to turn the garage into a finished room to improve this. You just need to slow the heat transfer and stop leaks. The fixes below start small and stay budget-friendly.
Quick Gap Checks You Can Do In Five Minutes
Before you buy anything, find the spots where air is sneaking in. This is free, and it helps you spend money where it actually matters. Close the garage door and walk the edges. Look for daylight along the sides and bottom. If you see light, you have an air path.
Try a simple “hand test” on a windy day. Place your hand near the side seals and the bottom seal. If you feel a steady breeze, that is not a tiny issue. It adds up fast. Another easy trick is to stand inside with the lights off during the day. If the door edges glow, you have gaps.
Also, check the door from the inside while it is closed:
- Is the bottom seal flat and flexible, or cracked and stiff?
- Do the side seals touch the door evenly?
- Does the door meet the floor across the full width?
These checks tell you which fixes will give the biggest payoff first.
Cheap Sealing Upgrades That Stop Air Leaks
If you want one place to start, start here. Sealing is usually cheaper than insulation, and it supports every other upgrade. Most garages lose energy through the big door because it has moving parts and long seams.
Begin with the bottom seal. If it is worn out, replacing it can make an immediate difference in drafts. Next, add or replace side and top weatherstripping. Good weatherstripping should press against the door without bending it or rubbing hard.
If your concrete floor is uneven, a threshold strip can help the bottom seal close the last small gaps. This is useful when one corner lets in air (and sometimes water). A clean floor helps these seals stick and last longer, so wipe dust and oil before installing.
Sealing helps in practical ways:
- Less outside air entering means less HVAC run time
- Fewer bugs and dust coming in through the door edges
- Less chance of rain blowing under the door
Do this step before adding insulation panels, so you are not insulating a draft.
Door Insulation Options That Fit Most Budgets
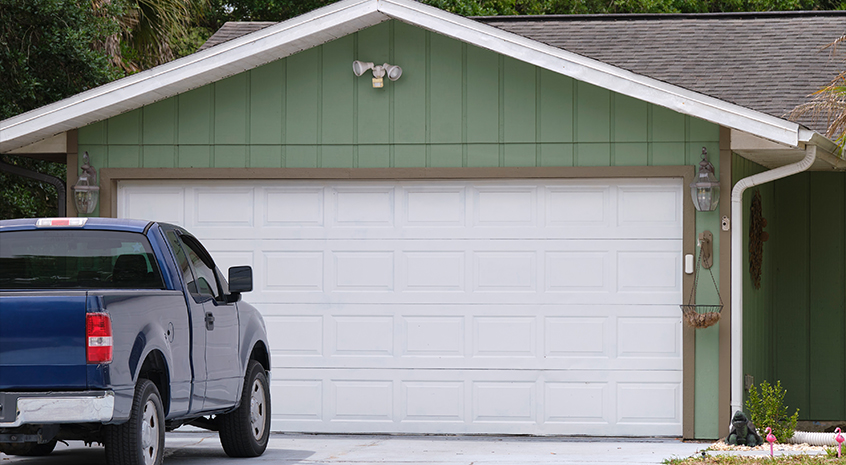
Now that you’ve reduced leaks, you can improve the door itself. Many garage doors are thin metal. Metal transfers heat quickly, which is why the inside of the door can feel very hot in the sun or very cold on a winter morning.
Rigid foam panels are the most common budget option. They fit into the door’s frame sections. When you shop, you will see “R-value” on the label. R-value is a measure of resistance to heat flow. In simple terms, a higher R-value usually means better insulation, but you also want a clean fit and a safe installation.
A few tips that prevent common mistakes:
- Cut panels snug, but don’t jam them tight enough to bend the door section
- Keep foam away from hinges, rollers, and tracks
- Don’t block any door joints that need to move freely
If the door feels heavier after insulation, the opener may need adjustment.
Wall Leaks And Hidden Holes Worth Sealing
The wall between the garage and house is one of the most important areas to tighten up. Even a small hole here can move a lot of air, especially if it connects to attic spaces or wall cavities.
Look for gaps around:
- Pipes under sinks or laundry hookups
- Electrical lines and outlet boxes
- Baseboards and corners where drywall meets concrete
- The area around the door frame leading into the house
Crushed insulation does not work well. Also, keep insulation clear of heat sources and follow safety guidance around any appliances. These wall fixes matter because they affect indoor rooms directly, not just the garage.
Small Habits That Keep Your Savings Going
Once you make upgrades, your daily habits can either support them or undo them. The big one is keeping the garage door closed. Even a well-insulated garage loses its advantage when the door stays open for long stretches.
Check that the door closes fully every time. If your opener stops short, seals won’t touch. If the door hits the floor unevenly, you’ll keep getting drafts. Some small adjustments, like tightening hardware, can help, but avoid spring and cable work. Those parts are under high tension.
Don’t forget the door from the garage into the house. Weatherstrip it and add a door sweep if there’s a gap. That single door often leaks more air than people realize because it is used daily.
A few simple routines also help:
- Close the interior door to the house after entering
- Avoid using space heaters for hours at a time
- Store items away from door edges so seals can do their job
These small steps make the “cheap fixes” actually stick.
Wrap-Up And When To Bring In Help
Lower bills usually come from small improvements done in the right order: stop air leaks first, then add insulation where it counts most. The best budget plan is simple: seal the garage door edges, add door panels if needed, tighten the shared wall, and improve insulation above the garage if you have a room there. If your door is heavy, off-balance, or hard to close evenly, it’s safer to bring in help. For homeowners who want a clean, correct setup without guesswork, Garage Door Insulation Pros can offer the right insulation and sealing options and install them so your upgrades actually pay off.
